Editing And Regenerating Images is the focus of this documentation page. Edit AI images with correction prompts and create attachments from the Media Library. Follow the sections below to regenerate images and manage AI attachment metadata.
Edit existing AI-generated images with a correction prompt, or create new images directly from the Media Library.
Regenerating an Image
If you want to modify an AI-generated image:
- In the Image Generation page, find your previously generated image in the table.
- Click the Regenerate button in the Actions column.
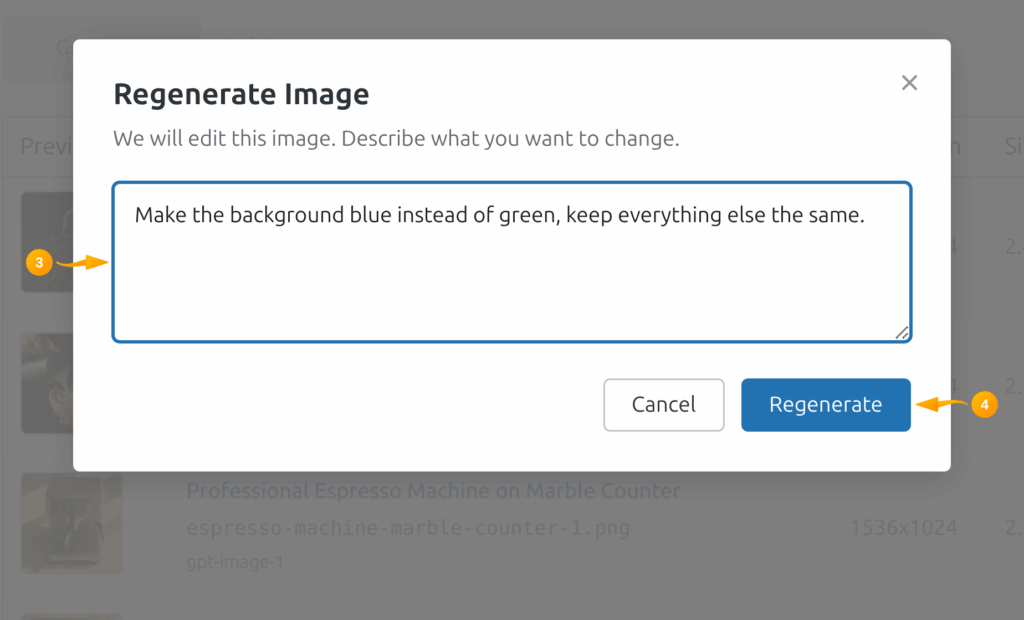
- In the Regenerate Image modal, enter a correction prompt describing what to change (e.g., “Make the background blue instead of green”).
- Click Regenerate.
- The updated image replaces the original file on the same Media Library attachment (same URL; browsers may need a cache refresh to show the new pixels).
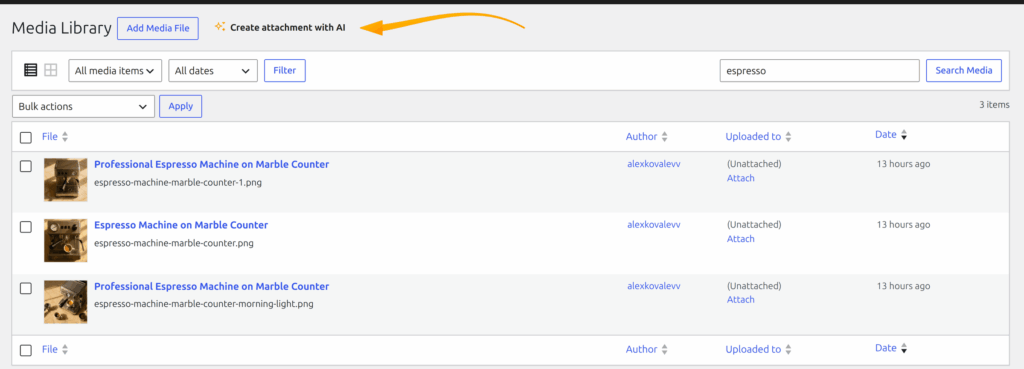
“Create Attachment with AI” Button
On the Media Library page (wp-admin/upload.php), you will see a “Create attachment with AI” button. Click it to open the Image Generation screen and create a new image that is immediately added to your library.
AI Metadata on Attachments
Every AI-generated image stores metadata:
smartypress_ai_prompt— the original generation prompt (appended with edit notes after regeneration)smartypress_ai_model— which model was usedsmartypress_ai_resolution— image resolutionsmartypress_ai_generated— flag marking it as AI-generated
Only attachments marked with smartypress_ai_generated can be regenerated from the Image Generation page. The stored prompt provides context for the edit request.
Editing And Regenerating Images Workflow Checklist
The editing and regenerating images workflow should be treated as a repeatable process, not a one-time setting. Start by confirming that the SmartyPress AI Engine module related to this page is enabled, then check the default provider, model, language, and post type settings before you run the feature on production content. This keeps generated output predictable and makes it easier to compare results between OpenAI, DeepSeek, OpenRouter, Yandex GPT, and GigaChat.
Use this checklist whenever you document, test, or train another editor on Editing and Regenerating Images. It helps keep the setup aligned with WordPress permissions, Rank Math SEO fields, and the editorial workflow used by your site. If a result looks different from what you expected, repeat the same checklist with a smaller prompt and a lower temperature before changing global settings.
- Confirm that the required SmartyPress AI module is enabled in the Components screen.
- Open Settings and verify that the selected provider has a valid API key and a tested connection.
- Choose the model that fits the task: fast models for drafts, premium models for final marketing copy, and web-search models for research.
- Review the output language, temperature, max tokens, and prompt variables before generating content.
- Save the result as a draft first, then review headings, links, facts, and SEO fields before publishing.
Recommended Settings
For most editing and regenerating images tasks, start with a balanced model such as GPT-4o Mini, GPT-4o, DeepSeek Chat, or a carefully selected OpenRouter model. Keep temperature around 0.5 to 0.8 for documentation and tutorials, because these pages need clarity more than experimentation. Increase temperature only when you need more creative headlines, introductions, or alternative wording.
Use a clear default language and keep prompt variables consistent across articles. For documentation pages, a neutral or professional writing tone usually works best. If the generated result is too short, increase the number of sections or paragraphs per section rather than asking the model to “write more” after the fact. Structured settings create more stable output and make Editing and Regenerating Images easier to reproduce later.